How to Make a 3D Nucleus Model
In 3D modeling, creating a nucleus model is crucial not only for biological education but also for scientific visualization, animation, and game development. Crafting a realistic and detailed 3D nucleus model requires certain modeling skills and the use of appropriate tools. This guide will provide you with a step-by-step process for creating a 3D nucleus model.
Preparation
Before you start modeling, make sure you have Blender or another 3D modeling software installed and have a basic understanding of the software’s operations. If you are new to Blender, it is advisable to familiarize yourself with basic modeling, material application, and rendering functions to help you complete the project more smoothly.
Steps to Create a Nucleus Model
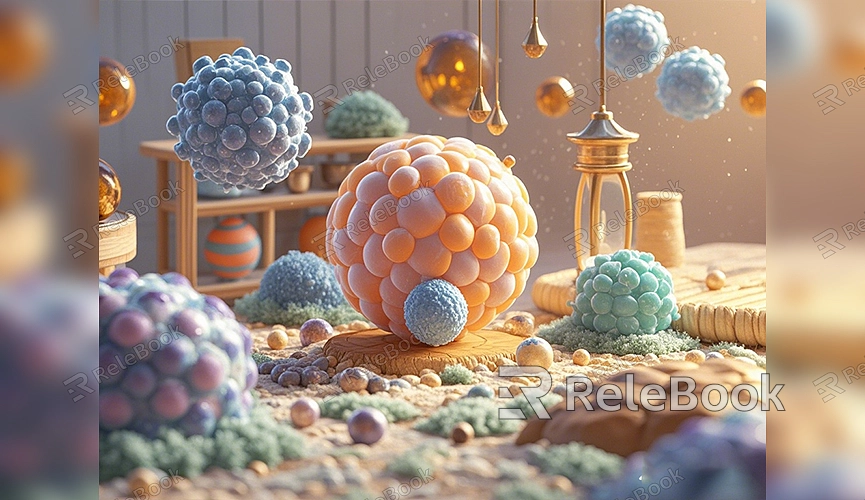
1. Create the Base Shape
- Open Blender and start a new project. In the default scene, you will see a cube. Delete the default cube (press "X" and select "Delete").
- Next, we will create the base shape of the nucleus. Select "Add" > "Mesh" > "UV Sphere" to use as the core of the nucleus.
- Adjust the size and subdivision level of the sphere to make it appear smoother and more natural. The nucleus is typically a slightly irregular sphere, so you can use the "Scale" tool (press "S") in "Edit Mode" to slightly adjust the shape to better resemble an actual nucleus.
2. Add the Nuclear Envelope and Pores
The nucleus consists of the nuclear envelope and nuclear pores. To add the nuclear envelope:
- Duplicate the sphere (press "Shift+D") and slightly scale down the duplicated sphere to create an outer layer for the nuclear envelope.
- In "Edit Mode," use the "Edge Select" tool to slightly stretch the edges of the outer sphere to create the effect of the nuclear envelope.
To make the model more realistic, add nuclear pores:
- Select "Add" > "Mesh" > "Torus," scale it, and position it on the nucleus model to simulate the appearance of nuclear pores. Use Boolean operations to merge the pores with the nucleus model, creating realistic hole effects.
3. Refine the Internal Structure of the Nucleus
The nucleus typically contains chromatin and the nucleolus. Use Blender’s "Sculpt" tools to create these internal structures:
- Chromatin: Add several small spheres in the nucleus to represent chromatin fibers. Adjust their size and placement to mimic the chromatin structure within the nucleus.
- Nucleolus: Add one or more small spheres in the center of the nucleus to represent the nucleolus. Use sculpting tools to refine these spheres to look more natural.
4. Apply Materials and Textures
To make the model look more realistic, apply materials and textures:
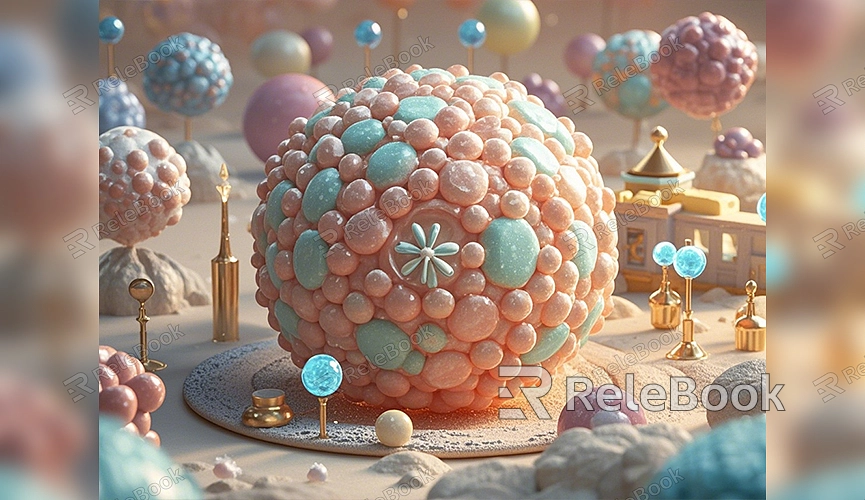
- In Blender’s "Materials" panel, create a new material and choose appropriate colors and glossiness. The nucleus material should have some shine and translucency to simulate a real nucleus effect.
- Enhance details with texture maps. Add textures to the nucleus and adjust their mapping to match the model’s shape and details.
5. Set Up Lighting and Rendering
Setting up the right lighting and rendering parameters is crucial to showcase the nucleus model’s details:
- Choose a suitable rendering engine, such as Cycles or Eevee, and adjust the light source’s intensity and position as needed. Ensure that all details of the model are clearly visible in the render.
- Use Blender’s "Render Properties" panel to adjust resolution, sampling settings, and output format. Start rendering your nucleus model and check the output image to ensure that the details and effects meet your expectations.
Post-Processing Greyscale Images
Using high-quality textures and HDRI images can significantly enhance your work during creation and rendering. For high-quality 3D textures and HDRIs, you can download them for free from [Relebook](https://textures.relebook.com/). If you need exquisite 3D models, visit [Relebook](https://3dmodels.relebook.com/) for a wide range of premium resources. These assets will help you better refine and optimize your nucleus model.
Creating a 3D nucleus model involves multiple steps, from shaping the base to detailing, applying materials, and final rendering. By effectively using Blender’s tools and features, you can create a realistic and visually impactful nucleus model. Continuously adjusting and optimizing the model's details will help enhance the final result. We hope this guide helps you master the techniques of creating a nucleus model and elevates your 3D creation to a professional level.
